
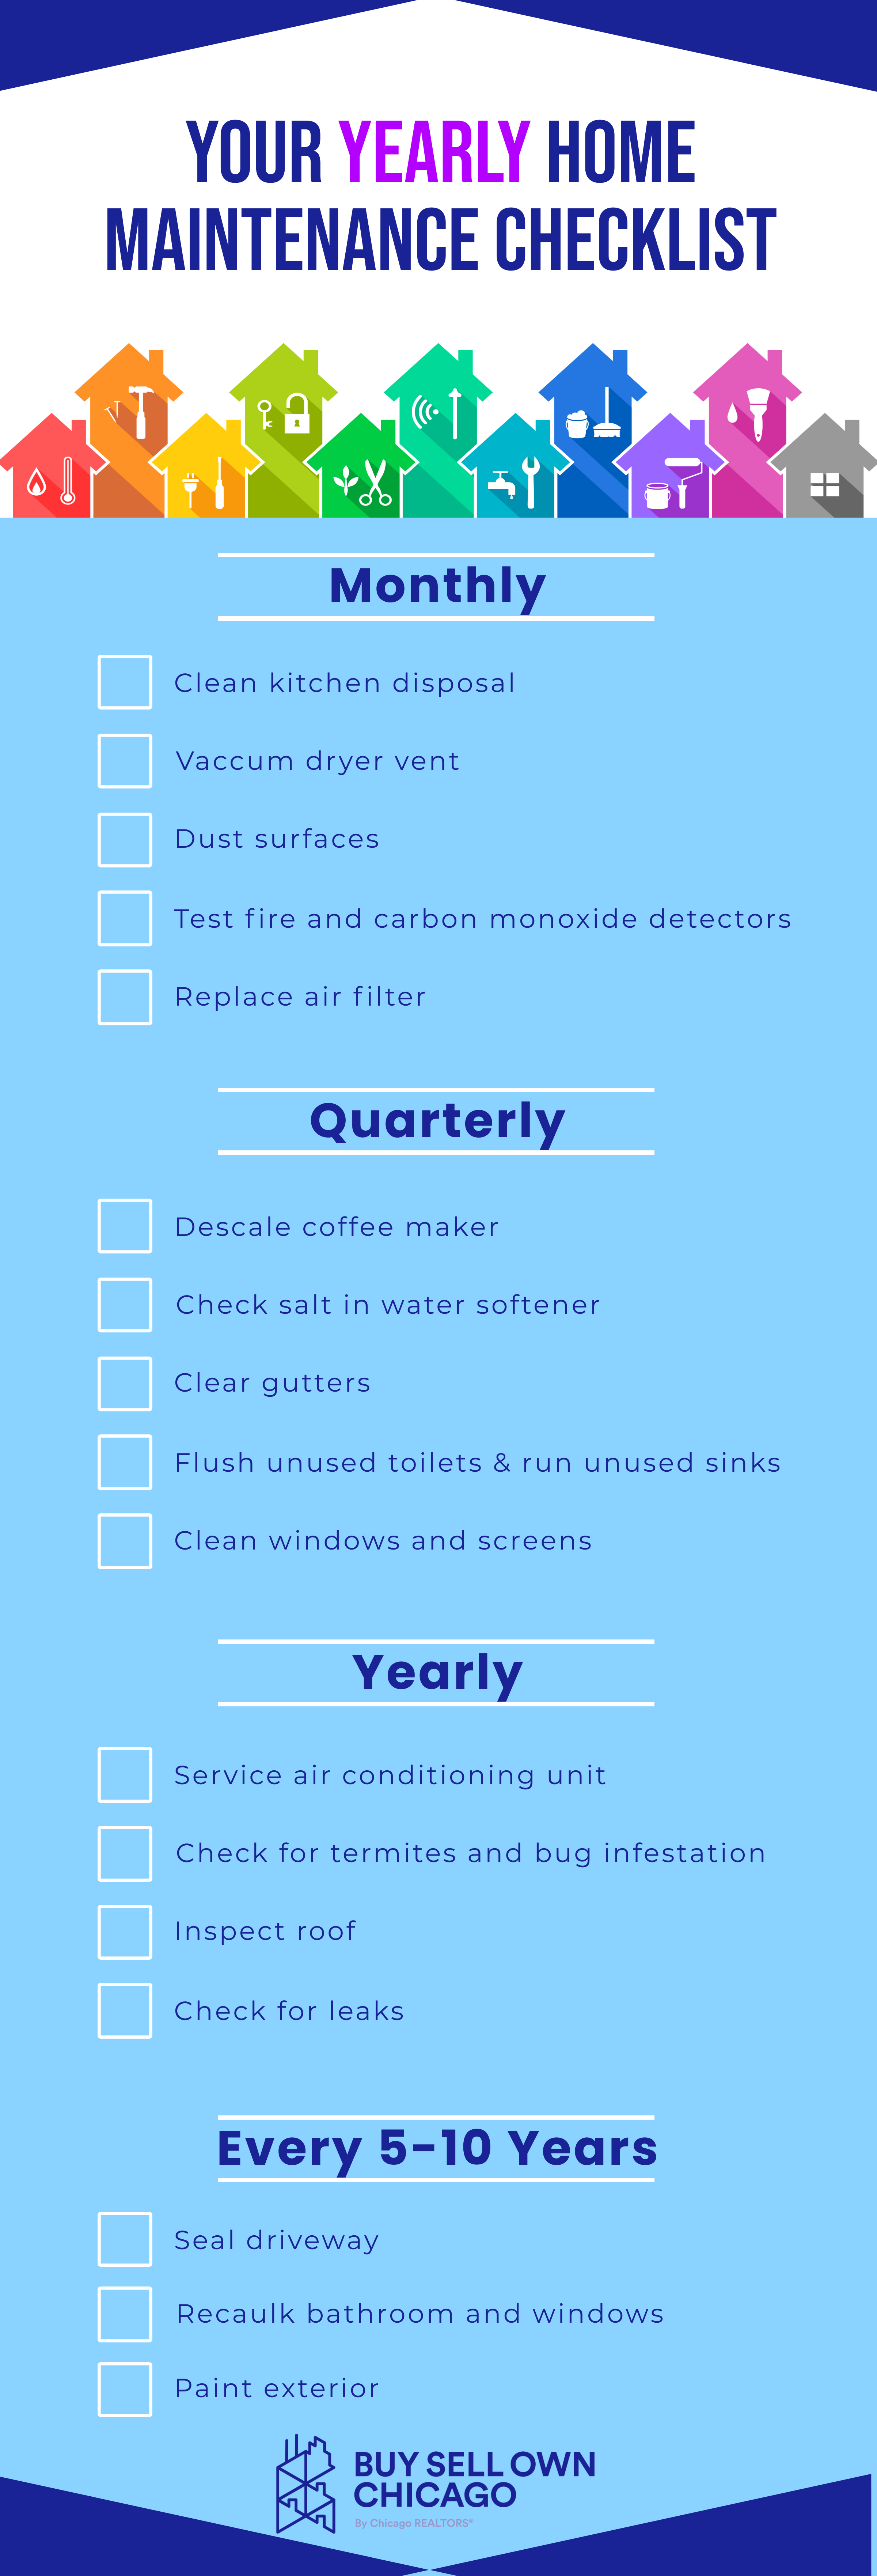
The Ultimate Spring Maintenance Checklist
Goodbye freezing cold, hello spring! It’s time to start looking at your spring maintenance to-do list. Use this as a resource to start checking off tasks and getting ready for warmer albeit rainier weather.
Scan For Termites
Starting in March, termites become more prevalent. Keep an eye on any exterior wood of your home (porches and patios are common culprits). If you notice a hole with a winged insect the size of a rice grain flying out, that’s likely a termite. Call a pest control company as soon as possible!
Keep Mosquitos at Bay
Mosquitos can be pesky nuisances, but there is one straightforward trick to keep the hordes away from your home: get rid of any standing water. Mosquitos lay their eggs on stationary water! With no place to lay eggs, you’ll see less flying around your santuary.
Clean Your Screens & Windows
Temperatures aren’t too hot or too cold come springtime, so it’s a popular time of year to enjoy open windows. How are those windows looking? Clean filth off the screens and wipe the grime off the glass so you can enjoy as much sunshine as possible.
Clear Your Gutters
Now that the weather has thawed, rainstorms are on their way. Part of your spring maintenance checklist should include clearing leftover leaves and debris so there are no drainage issues when spring deluges truly open up.
Get Your Air Conditioner Serviced
Take care of your air conditioning units with regular service checks by scheduling a visit before the summer temperatures truly crank up. Plus, you’ll save money and stretch out the lifespan of the unit.
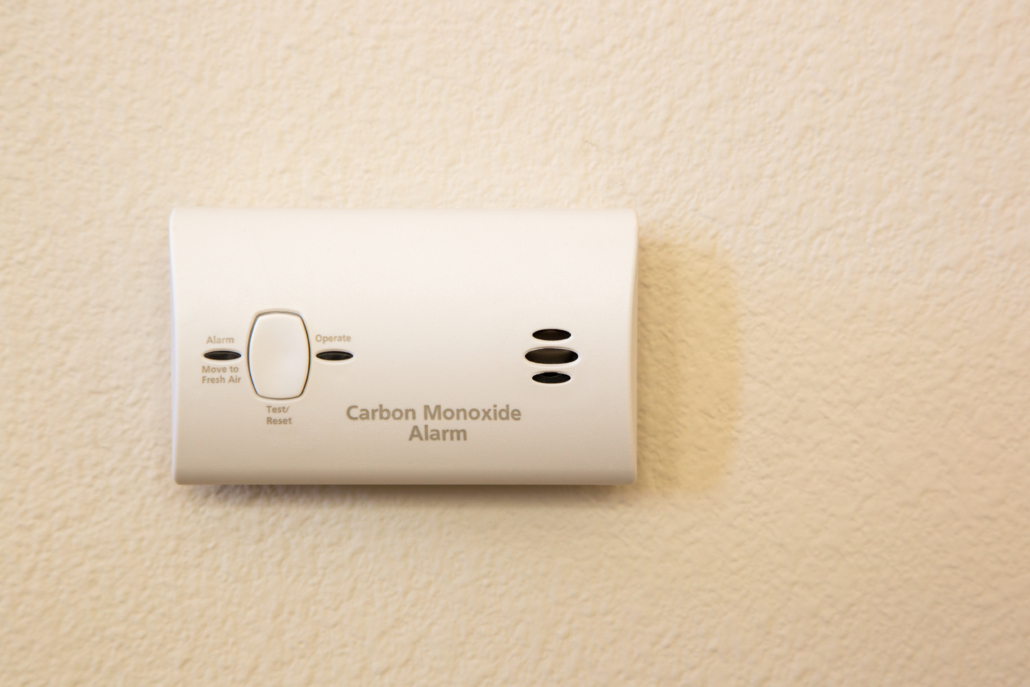
Check Smoke & Carbon Monoxide Detectors
Last, but certainly not least, get in the habit of checking your smoke and carbon monoxide detectors once a season to see if their batteries need to be replaced.


